
Hello everyone. It appears my hiatus is over as I’m excited to get back to Experience Writing. But I’m not going to get back to the planner pages quite yet. While I took an extended break from blogging and social media, I finally found the excitement and energy I needed to return to revising my novel.
I will be following Janice Hardy’s “Revise Your Novel in 31 Days.” It looks like exactly what I need to stay motivated and do the work every day until it’s done. With that in mind, I read her workshop prep and set out for the store to pick up colored 3X5 cards. However, my local store had moved their office supplies and by the time I finished shopping, I had forgotten all about them.
Making scene cards – the design
I was positive I had some in the house somewhere, so I began an extensive time-suck search instead of just returning to the store. And I’m glad I did because I found a bag of paper supplies I had stashed and forgotten about. In this fabulous bag I had card stock and resume papers of many colors. They gave me an idea. I could make my own index cards with guiding questions already printed on them. This way I will know exactly what I am trying to do in each scene and be able to evaluate the scenes in the same way each time.
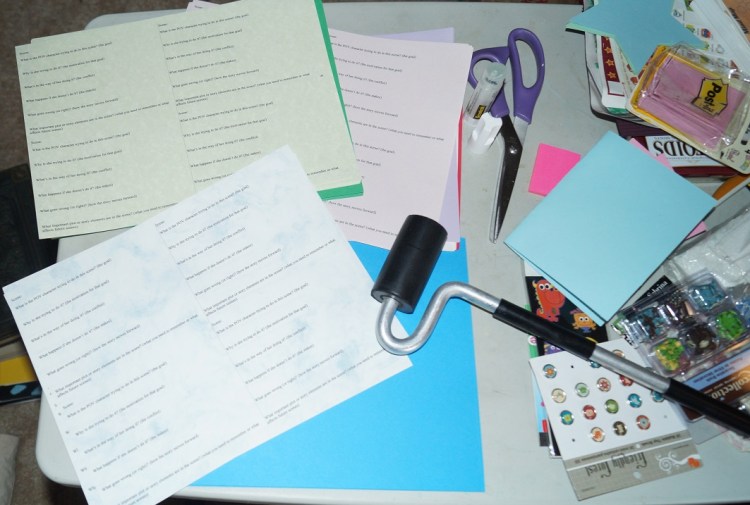
Here’s what I did:
- I created a word processing file with the page in landscape and separated the page into four sections.
- I used the scene evaluation questions that Janice Hardy proposed in her prepping lesson “How to create an Editorial Map” and fit them with plenty of space to write answers repeated in the four sections.
- I printed onto different colors of the resume paper
- I glued the resumed paper onto the card stock
- I cut them apart
And voilà! Custom scene cards.
Using the scene cards – they work!
Using the scene cards has helped me see my draft differently. I’m finally understanding the big picture edit process more clearly. As of today, I’m half way through my draft and I’ve already found:
- Unintended POV shifts
- Chapters that do not move the story along (completely removed)
- Places to split a chapter to increase suspense
- Places to rearrange chapters
- Places to add character development and tie plot lines together
- An unnecessary character and a character that is necessary that needs more development
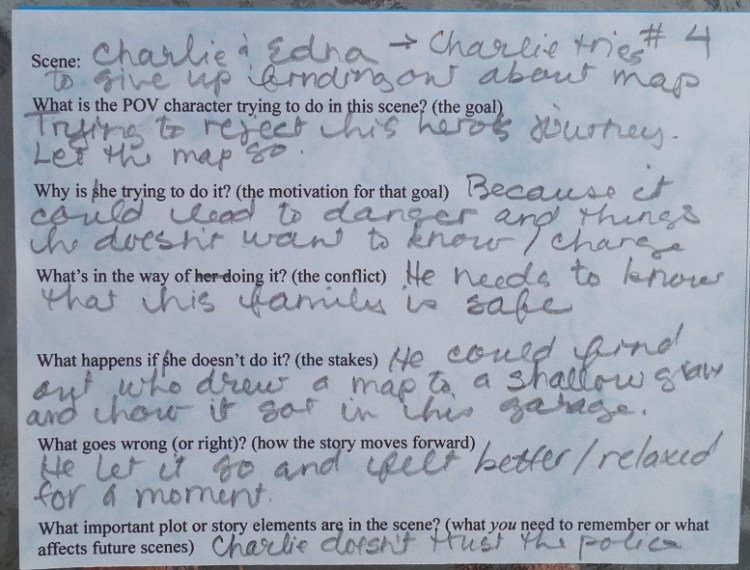
Here’s an example of a scene card I filled in:
Things to remember when using scene cards
Chapters may and often do have more than one scene. Fill out a card for each scene. You may have many cards for one chapter.
I’m filling my cards out in pencil and it’s freeing. My original answers to my POV character’s goals and motivations are often not the correct answers after I think about it for a while. Also, I like to number the cards in the top right corner and as I cut scenes and rearrange scenes, I can easily renumber them.
Having several different color cards can be used as a great organizational tool. Because the novel I’m working on has different POV characters in different chapters, I’m using different colors to represent my POV characters. That way when I’m done, it will be easy to look at each of the different narratives by putting same color cards together. You may want to use different colors to represent your main plots and subplots, or different settings if you’re writing a story that takes place in three different countries for instance. There are a bunch of fun possibilities, but remember that the color of the cards is also a tool, so be consistent in whichever plan you choose.
Other Uses
I’m going to try using these scene cards to plan and outline my idea for NaNoWriMo this year. In the past, I haven’t been great with outlines, but that could change. Knowing my POV characters goals, motivations and conflicts for each scene ahead of time should make writing that draft a lot easier.
I also had some star-shaped paper, brads and stickers I look forward to adding to the cards in some way. If I have an epiphany, I’ll let you know.
I hope you find using scene cards as helpful and motivating as I do.

One thought on “Revising with scene cards”
Comments are closed.